First Time Home Renovations
In 2018, I was on a mission. A mission to buy the smallest, least expensive house in the Hamptons that wasn’t about the crumble to the ground. One that wasn’t in such bad shape it would still be eligible for a mortgage. My husband and I were just looking to own our little piece of the East End.
Because we wanted to continue renting our Manhattan apartment, since my husband works in the city, we didn’t have a huge budget for a house — especially by Hamptons standards — but we knew we wanted to take what we had left and invest in some real estate. And so, the search began.
We looked at many, many homes, most two or three-bedroom ranches that appeared to be flips. They had been “recently renovated,” with new furnishings that were completely fine, but not what I would have chosen. (What can I say? I have champagne tastes on a beer budget!) Why pay extra, we thought, for a new kitchen we didn’t like and would eventually have to redo? Some homes were on the scarier side. We found one that I thought would be the steal of a lifetime until we realized that it had no floors, just dirt. And there were birds living inside.
We eventually found our dream home in Hampton Bays. And by dream home, I mean it had good “bones,” and a lot of potential. There were no major renovations needed. It was completely livable. It was 1300 square feet, a walk to the water, had cedar shingles . . . it checked all the boxes.
I could write a book about the home-buying process, but that’s not what this story is about. It’s about what we did once we had it — budget-friendly renovations that anyone can do. Perhaps this will be inspiration for someone who has recently bought a fixer-upper.
I love a good do-it-yourself project, and now owning a home, the possibilities are endless. I knew that painting the house could have cost close to $10,000, so this was our first project. Although tedious, it’s something we could easily handle ourselves. So, we took a weekend and got to work. The house was painted every color of the rainbow. Dark blue ceilings, lavender and brown bedrooms, dark green accent walls, etc. We decided to paint everything completely white. This gave the entire house a facelift and really opened it up. Since there’s already great natural light, the dark walls weren’t doing it any favors.
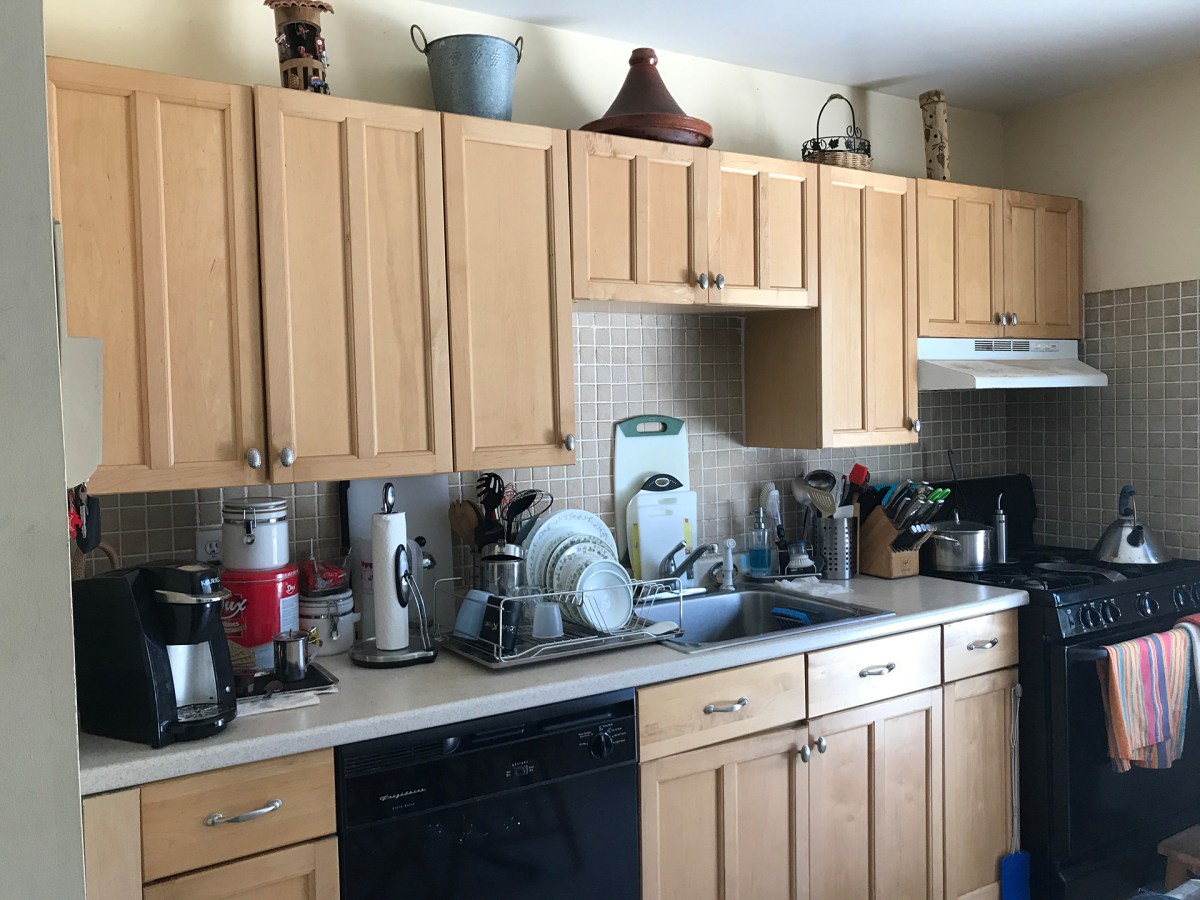
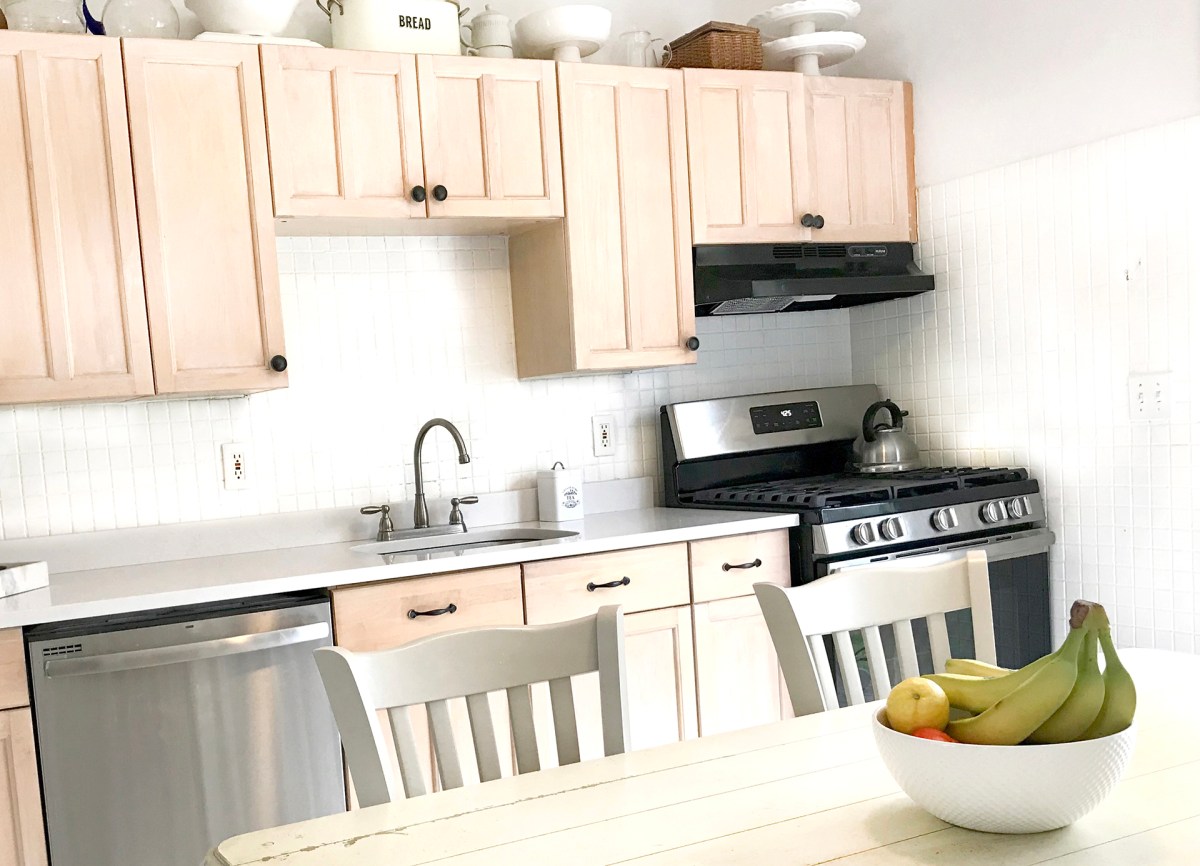
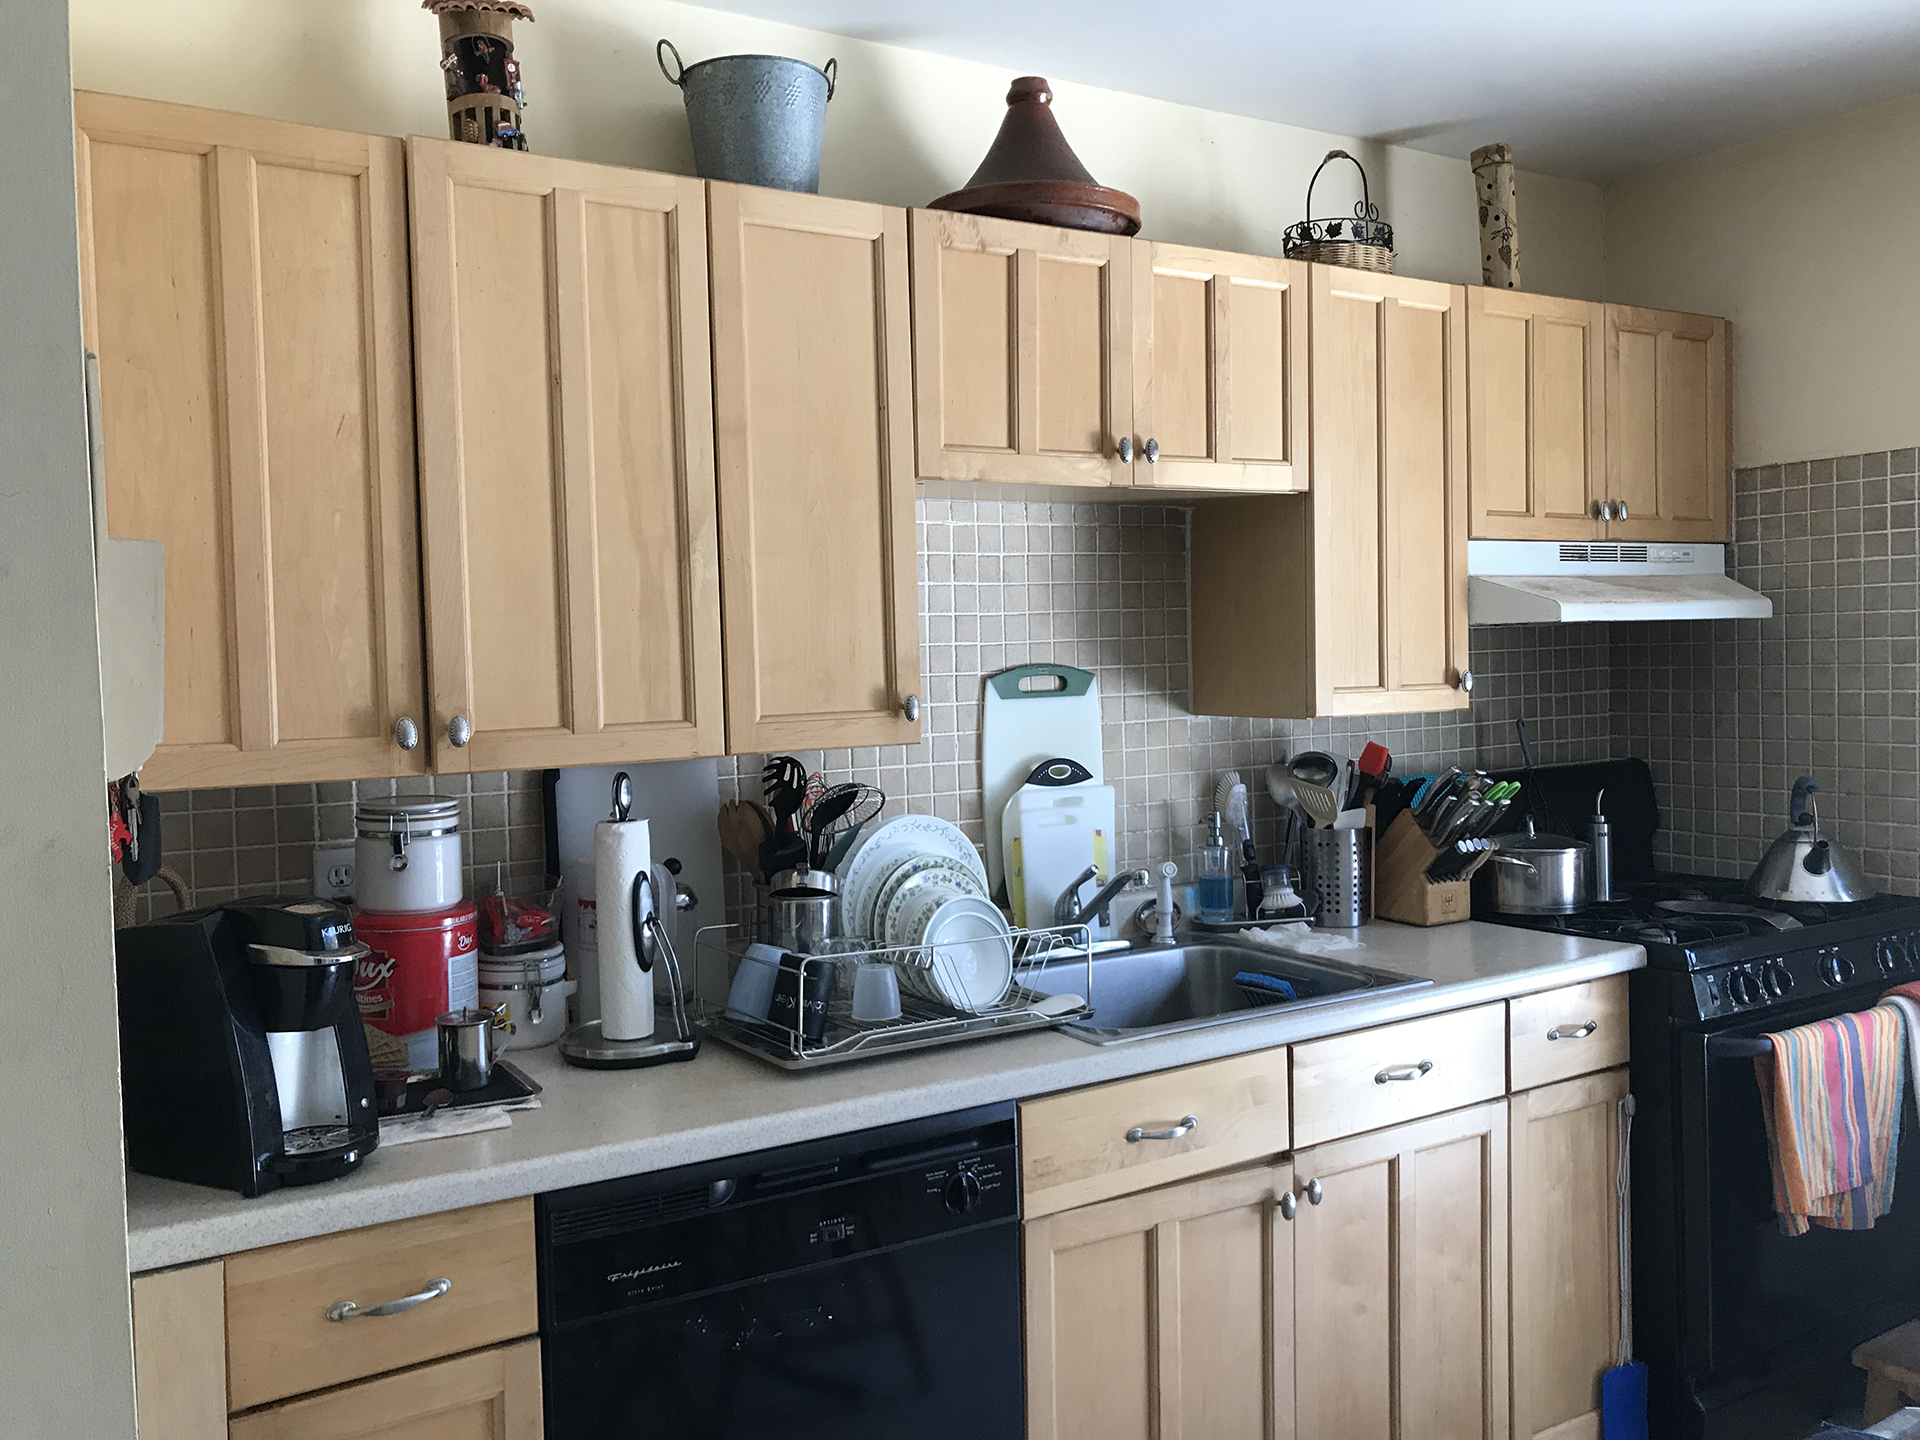
In the kitchen, we had wood cabinets we amped up by staining with a white wash. I painted the gray tiles with a glossy white tile paint, which required many coats and smelled horrible, but was well worth it in the end. The biggest splurge was replacing the beat-up Formica countertop with Silestone. And because the house is small, we got an excellent deal on a remnant piece.
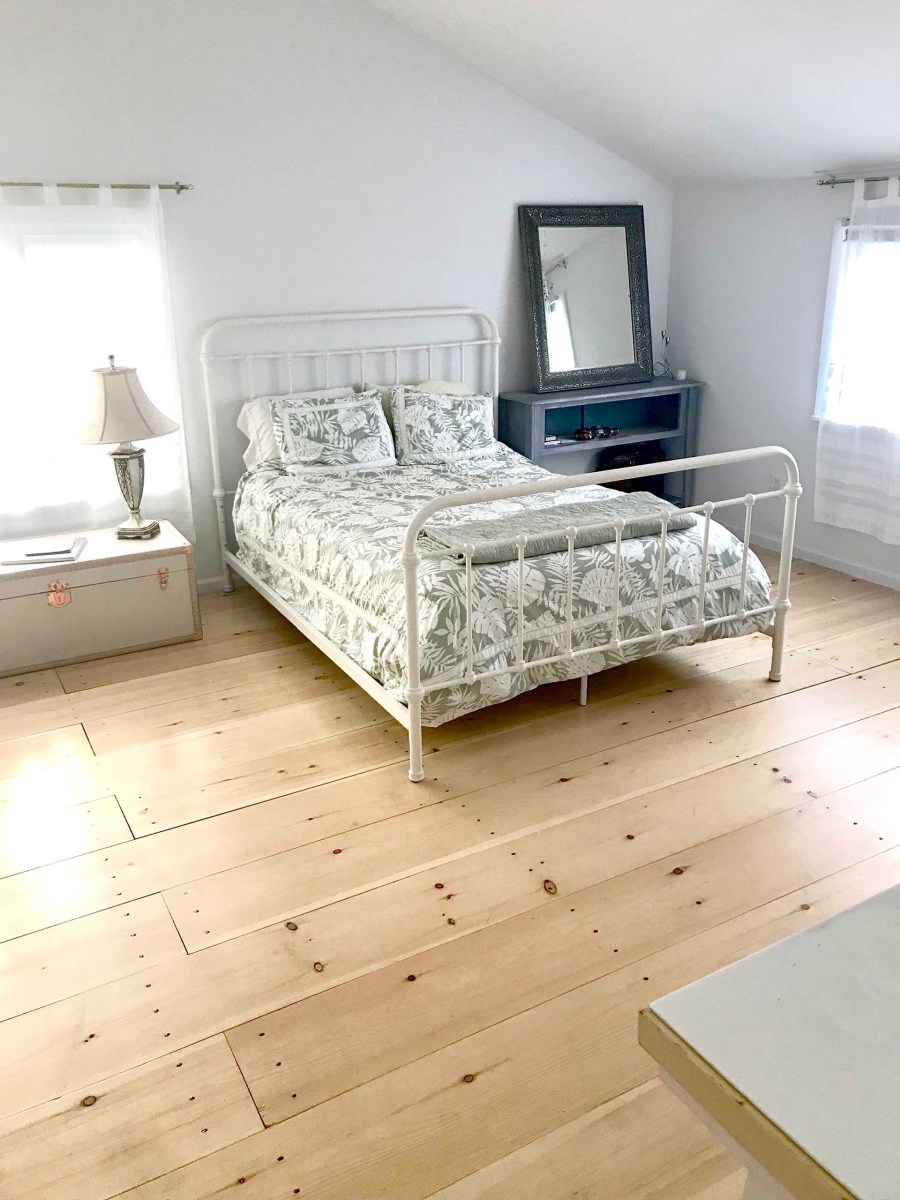
The biggest DIY renovation we did was the master bedroom. The carpet wasn’t good. It even had a burn stain in the middle the shape of an iron. We ripped up the carpet and headed to Riverhead Building Supply to buy pieces of Ponderosa Pine. With help from my dad, who has built multiple homes, we cut and used the wood for flooring. We nailed down the boards with old-fashioned cut nails and later stained them. We got very lucky that the wood floors in the rest of the house were already in good shape. The bedroom fix was a low-cost solution that yields great return.
The yard hadn’t been landscaped in a good decade, so we cleared, and cleared, and cleared, until we found what looked to be a once-manicured yard many years ago. This included intricate brick work from pieces we uncovered and repurposed. We planted hydrangea and rhododendron to surround the perimeter of the house, and we also went to yard sales to buy teak patio furniture. Another super-saver trick.
Was our handiwork perfect? No. Are we ready for our own home improvement show on HGTV? Also, no. But what we did do was quickly raise the value of our home, make it a much more esthetically pleasing living space, and comfortable for us.
jessica@indyeastend.com
